Creating a giant strawberry out of paper
Welcome to another, slightly weird DIY! I have recently discovered how much I adore crafting giant papermaché fruits. I don’t know for sure what it is about these projects - whether it is the color, the crafting by hand or the surrealism that comes with it - it brings me so much joy!
So in this blogpost I’d like to share a little more about the process of creating a giant strawberry.
Ready? Let’s do this.
Materials used
cardboard (for the base)
lots of wrapping paper (ideal to use old paper)
hot glue
tape (lots of it)
papermaché
acrylic paint (red and black)
green colored paper (for the leafs)
Creating a base
I have to say, this one was quite the challenge and had to be done with lots of patience - and I am a very impatient person. But that’s what you got to do when creating DIYs. After creating a giant papermaché orange while using a beachball as a base, I wanted to create the strawberry completely out of paper.
This meant I had to built a base first and then cover it with papermaché. And for the first couple of days my strawberry just looked incredibly weird. I started by cutting out a rough version of a heart shape out of cardboard to have a base I could work with. The heart shape worked out quite well as a strawberry shape, but I made sure to make it slightly longer on the sides.
I then started to crumple wrapping paper into little balls and hot glueing them to my strawberry base. This way the strawberry started to get three dimensional, but it still looked pretty weird.
After I filled the entire base with crumpled up paper I covered it in more wrapping paper - this time without any crumpling to provide a smoother surface for the papermaché to stick to. I used lots of tape to keep the paper in place and to further shape the strawberry.
Papermaché and Color
After the body of the strawberry had been taped in place, it was time to start covering it in papermaché. Since the strawberry is pretty large I needed to start with one side, let it dry and then start with the other one to complete the entire body. It took forever to dry as the moisture of the papermaché also affected the paper underneath. So make sure you have a good drying spot and lots of time to wait until the body is completely dry.
It took about 10 days to dry completely after two coats of papermaché. When it was dry I wasn’t a 100% sure if this DIY would work out and if I got the right shape of the strawberry body. But after painting it bright red with acrylic paint, it really began to come together! For the final touches I brushed on little black seeds all across the strawberry and added two green leafs out of colored paper. Looks like a strawberry, right?

The photoshoot
I was beyond excited to shoot the giant papermaché strawberry, as I already had the basic shooting concept in mind for this project. I knew I wanted to play on a pink/red color combination and have a simple portrait set-up as well as a table scene.
So here’s a list of props I used for the photoshoot:
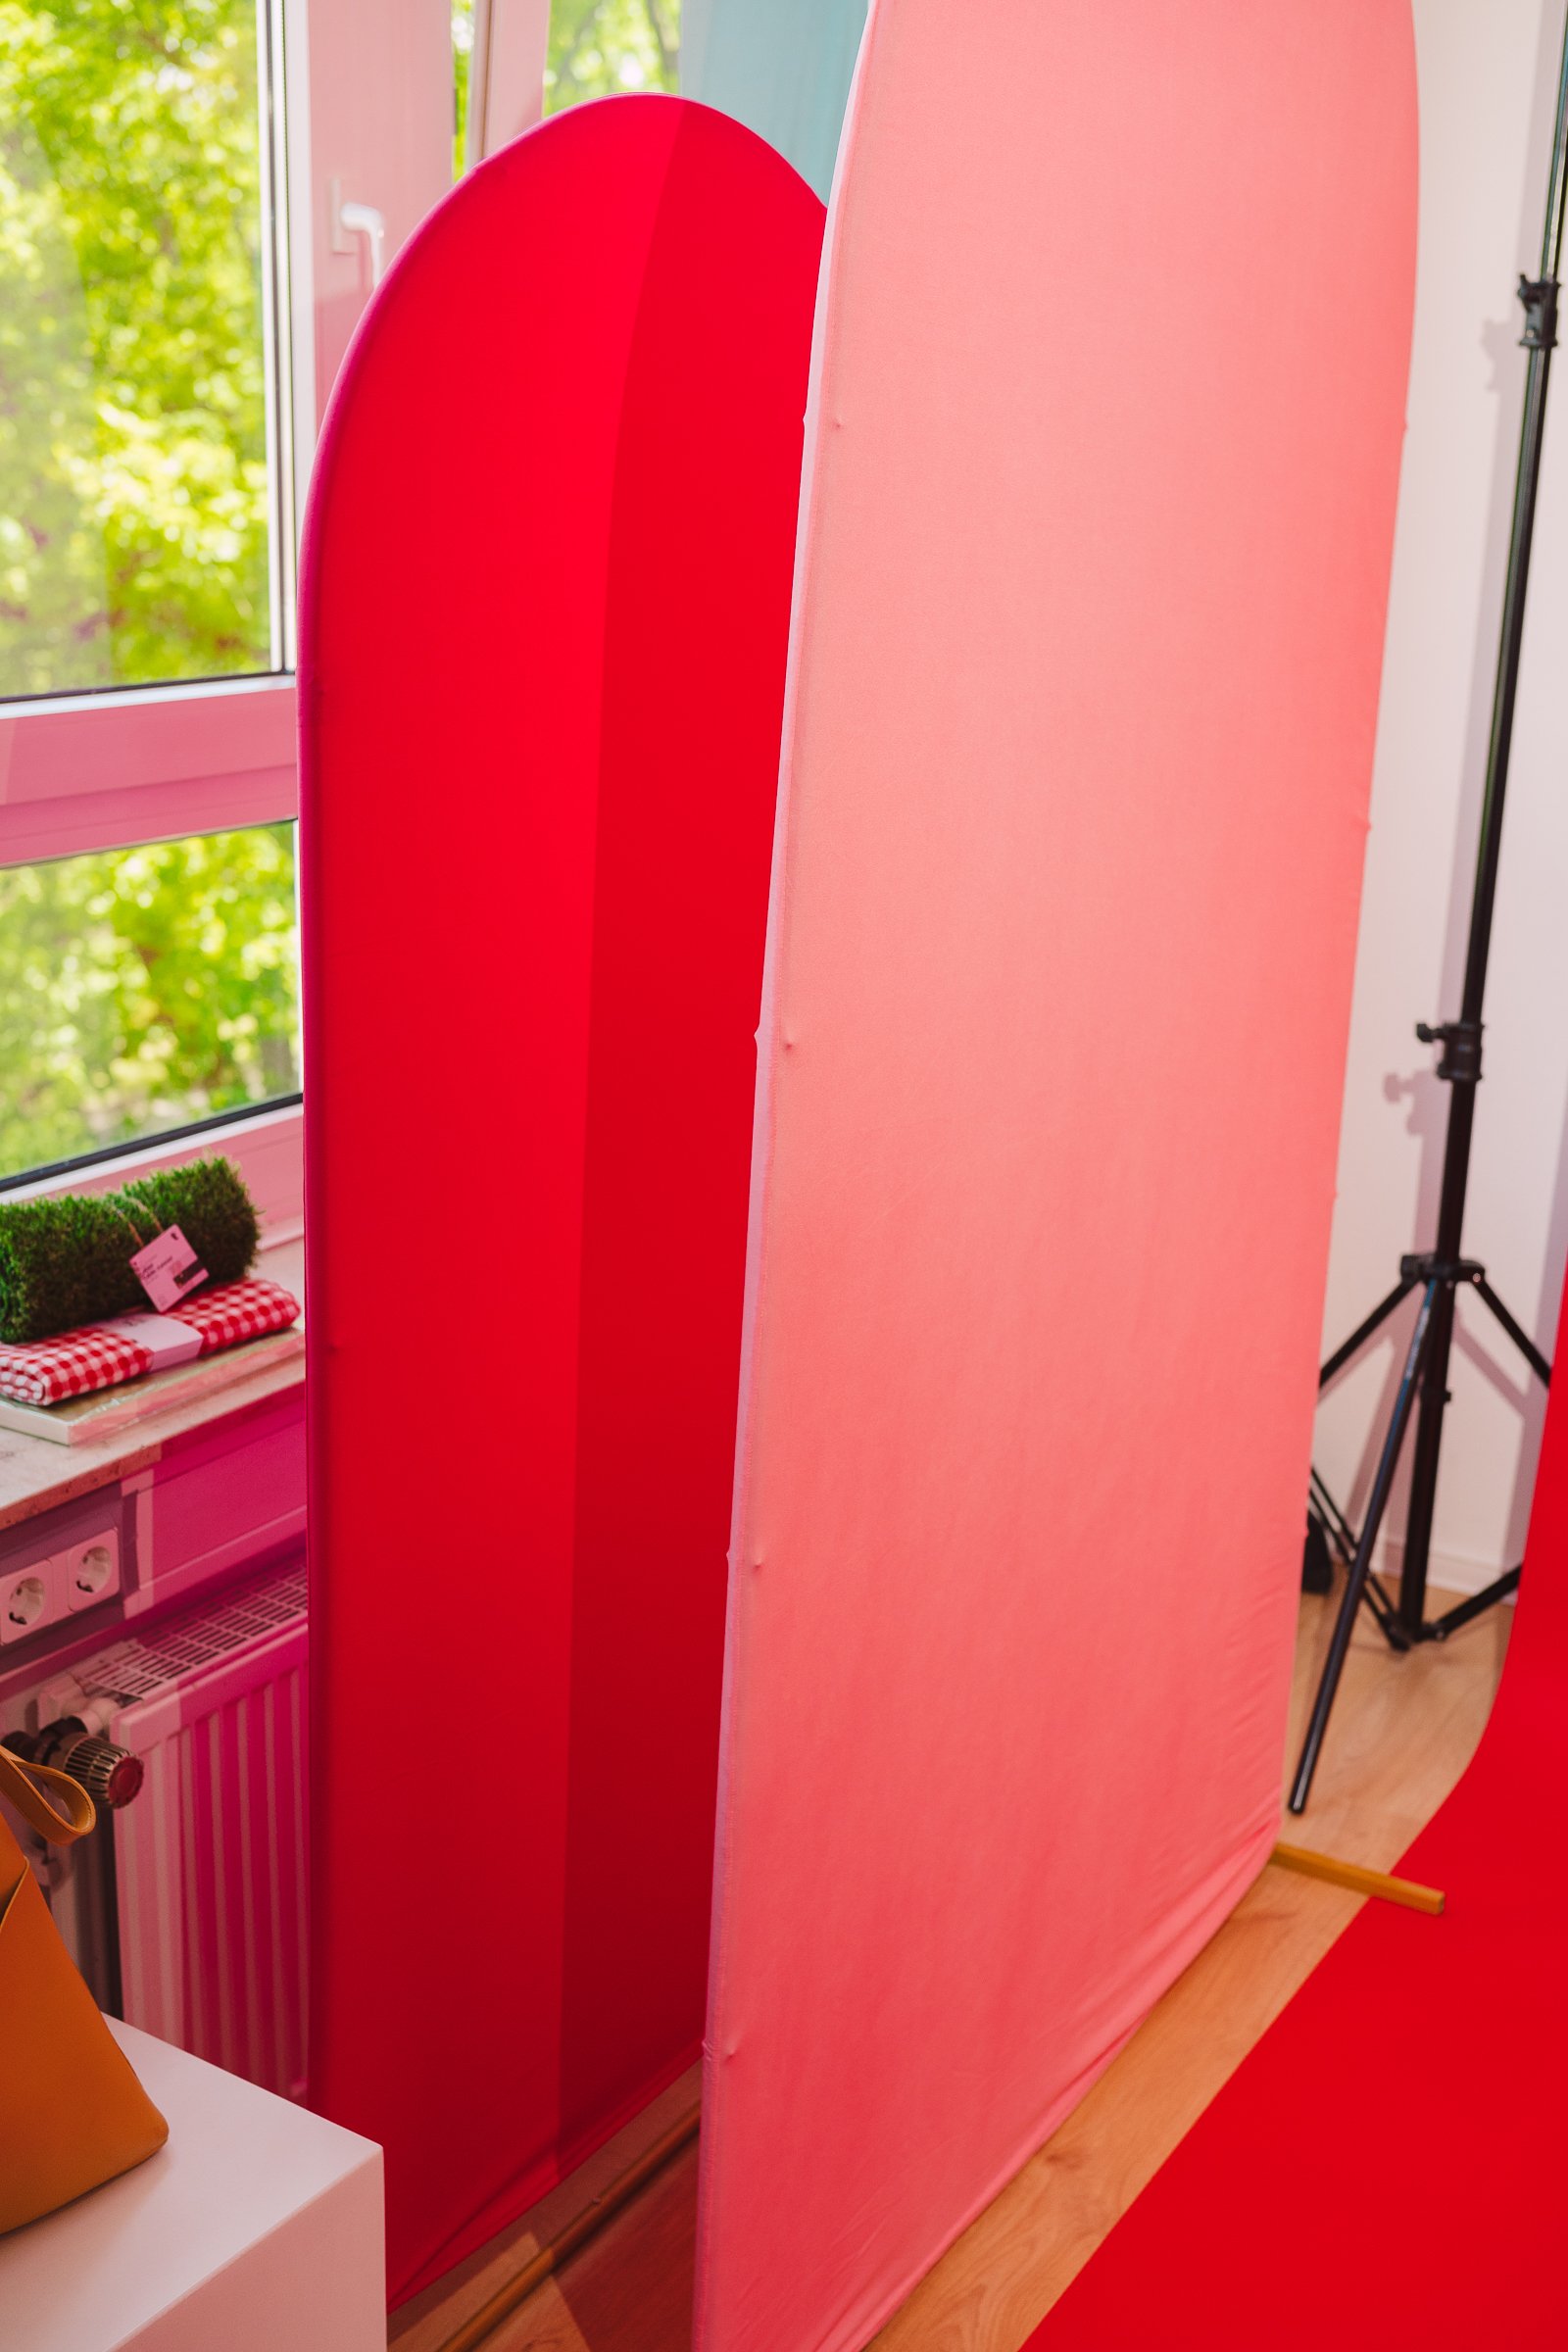
2,72m seamless red paper backdrop
2 wedding arches with pink and rosé colored arches
red gingham tablecloth from Flying Tiger
strawberry cup from Flying Tiger
lots of real strawberries
strawberry jumpsuit
red headband
strawberry sweater

Light, poses and props
For this photoshoot I went for my currently favorite lighting set up, which is direct light coming from a continuous light, directly angled at the subject. No lightformers, just the light hitting you like the sun - and making me see some spots from time to time.
I love how clear direct light is and how much it makes your colors pop. And for this strawberry shoot I wanted a really intense red, which is why this lighting set up was perfect for this theme.
For part 1 of the photoshoot I went for a really simple set-up with me holding the strawberry while wearing my strawberry jumpsuit to give it some whimsy and make it even more fun. Full body portraits did look pretty weird due to the proportions of the strawberry, so I went for portraits, medium portraits and some variations while sitting down. The patterned jumpsuit did an incredible job to underline the overall fun and easy-going feel of this photoshoot. But I guess people who create giant strawberries generally don’t take themselves to seriously, right?


For the next scene I added a wedding arch with a pink cover to the scene to add a little more interest to the backdrop. I love shooting on seamless paper, but sometimes it needs a little extra to make the imagery stand out even more. Additionally, elements such as the wedding arch are ideal to bring more dimension into your imagery and make the viewer feel like the photographs were taken in a thought out set.

Seamless paper meets wedding arch
Table set-up
You say “strawberry”, you think picnic, right? That’s why I went for a red gingham tablecloth to give the table set-up a retro springtime kind of feeling. Adding a strawberry cup by Flying Tiger, real strawberries and of course my giant papermaché strawberry, the entire thing worked really well together in different hues of red and pink. Only the blue containers of the strawberries added a bit more contrast, and I really love how the blue adds to the richness of the reds.
All in all, this project has taken me quite a lot of time and nerves, but I am so happy with how it all came together. From a paper mess to a fully shaped strawberry, this won’t be my last giant papermaché fruit.
If you liked this post, let’s stay friends and share more creative DIY and photo ideas.
Thank you
xx
Anna

