How I Create A Stop Motion Animation

Spoiler: it’s so easy!
Let’s create a stop motion animation!
I’ve been a huge fan of stop motion animations ever since I picked up my first camera sometime in school. I started doing these little animations - unfortunately all lost somewhere on a hard drive - because I couldn’t find an easy way to create video. Videography seemed so intimidating and I wasn’t as interested in it to be honest.
Stop Motions are such a lovely way to create a little more interest for your website or social media, they always have this feeling of whimsy and joy around them. Also: they are incredibly easy to do!
Stop Motion animations are essentially frame by frame animations. Because you photograph your imagery on a tripod the image itself remains still, so the viewer can completely focus on the motion going on between the frames. Ever movie you know is essentially made up out of lots of different frames per second, depending on the resolution, but in Stop Motion we will only be needing a minimum amount of imagery to create the typical look.
A very impressive example of Stop Motion on the big screen is “The Fantastic Mr. Fox” by Wes Anderson if you would like to get a little more inspiration on the topic.
What you’ll need
As a social media savvy person you know that there are all sorts of apps to do this, but I’m going to show you the kind of old-fashioned way to this with your camera. This way you have way more control, you can create greater resolutions depending on your camera and edit them the way you like. As a photographer I love to create it this way, so let’s go!
Gear needed:
a camera, but you can also use your phone
tripod
some video editing software - I am using Final Cut Pro, but any software will do
The idea
The very first you’ll need to do is figure out your idea. You’ll want to create one simple motion, so the viewer doesn’t get overwhelmed. Things that are perfect for stop motions include:
moving objects around a plain backdrop
writing a sentence letter by letter
picking up a telephone, hat, or any other object that you can use
slowly revealing a change, such as a crumpled paper showing a message
showing an outfit change step by step
and so many more!
Make sure your frames don’t get overwhelmed with movement and focus on one main storyline you would like to tell.
The photoshoot
You got your idea, camera and tripod - you are all ready to shoot the imagery for your Stop Motion animation!
A location with consistent lighting conditions is ideal, but you can also incorporate elements such as changing shadows into your work. Give your idea several tries and experiment with telling your story through frames.
Very important: take on picture per movement. Otherwise the movements might seem to quick or fail to tell relevant steps in your story.
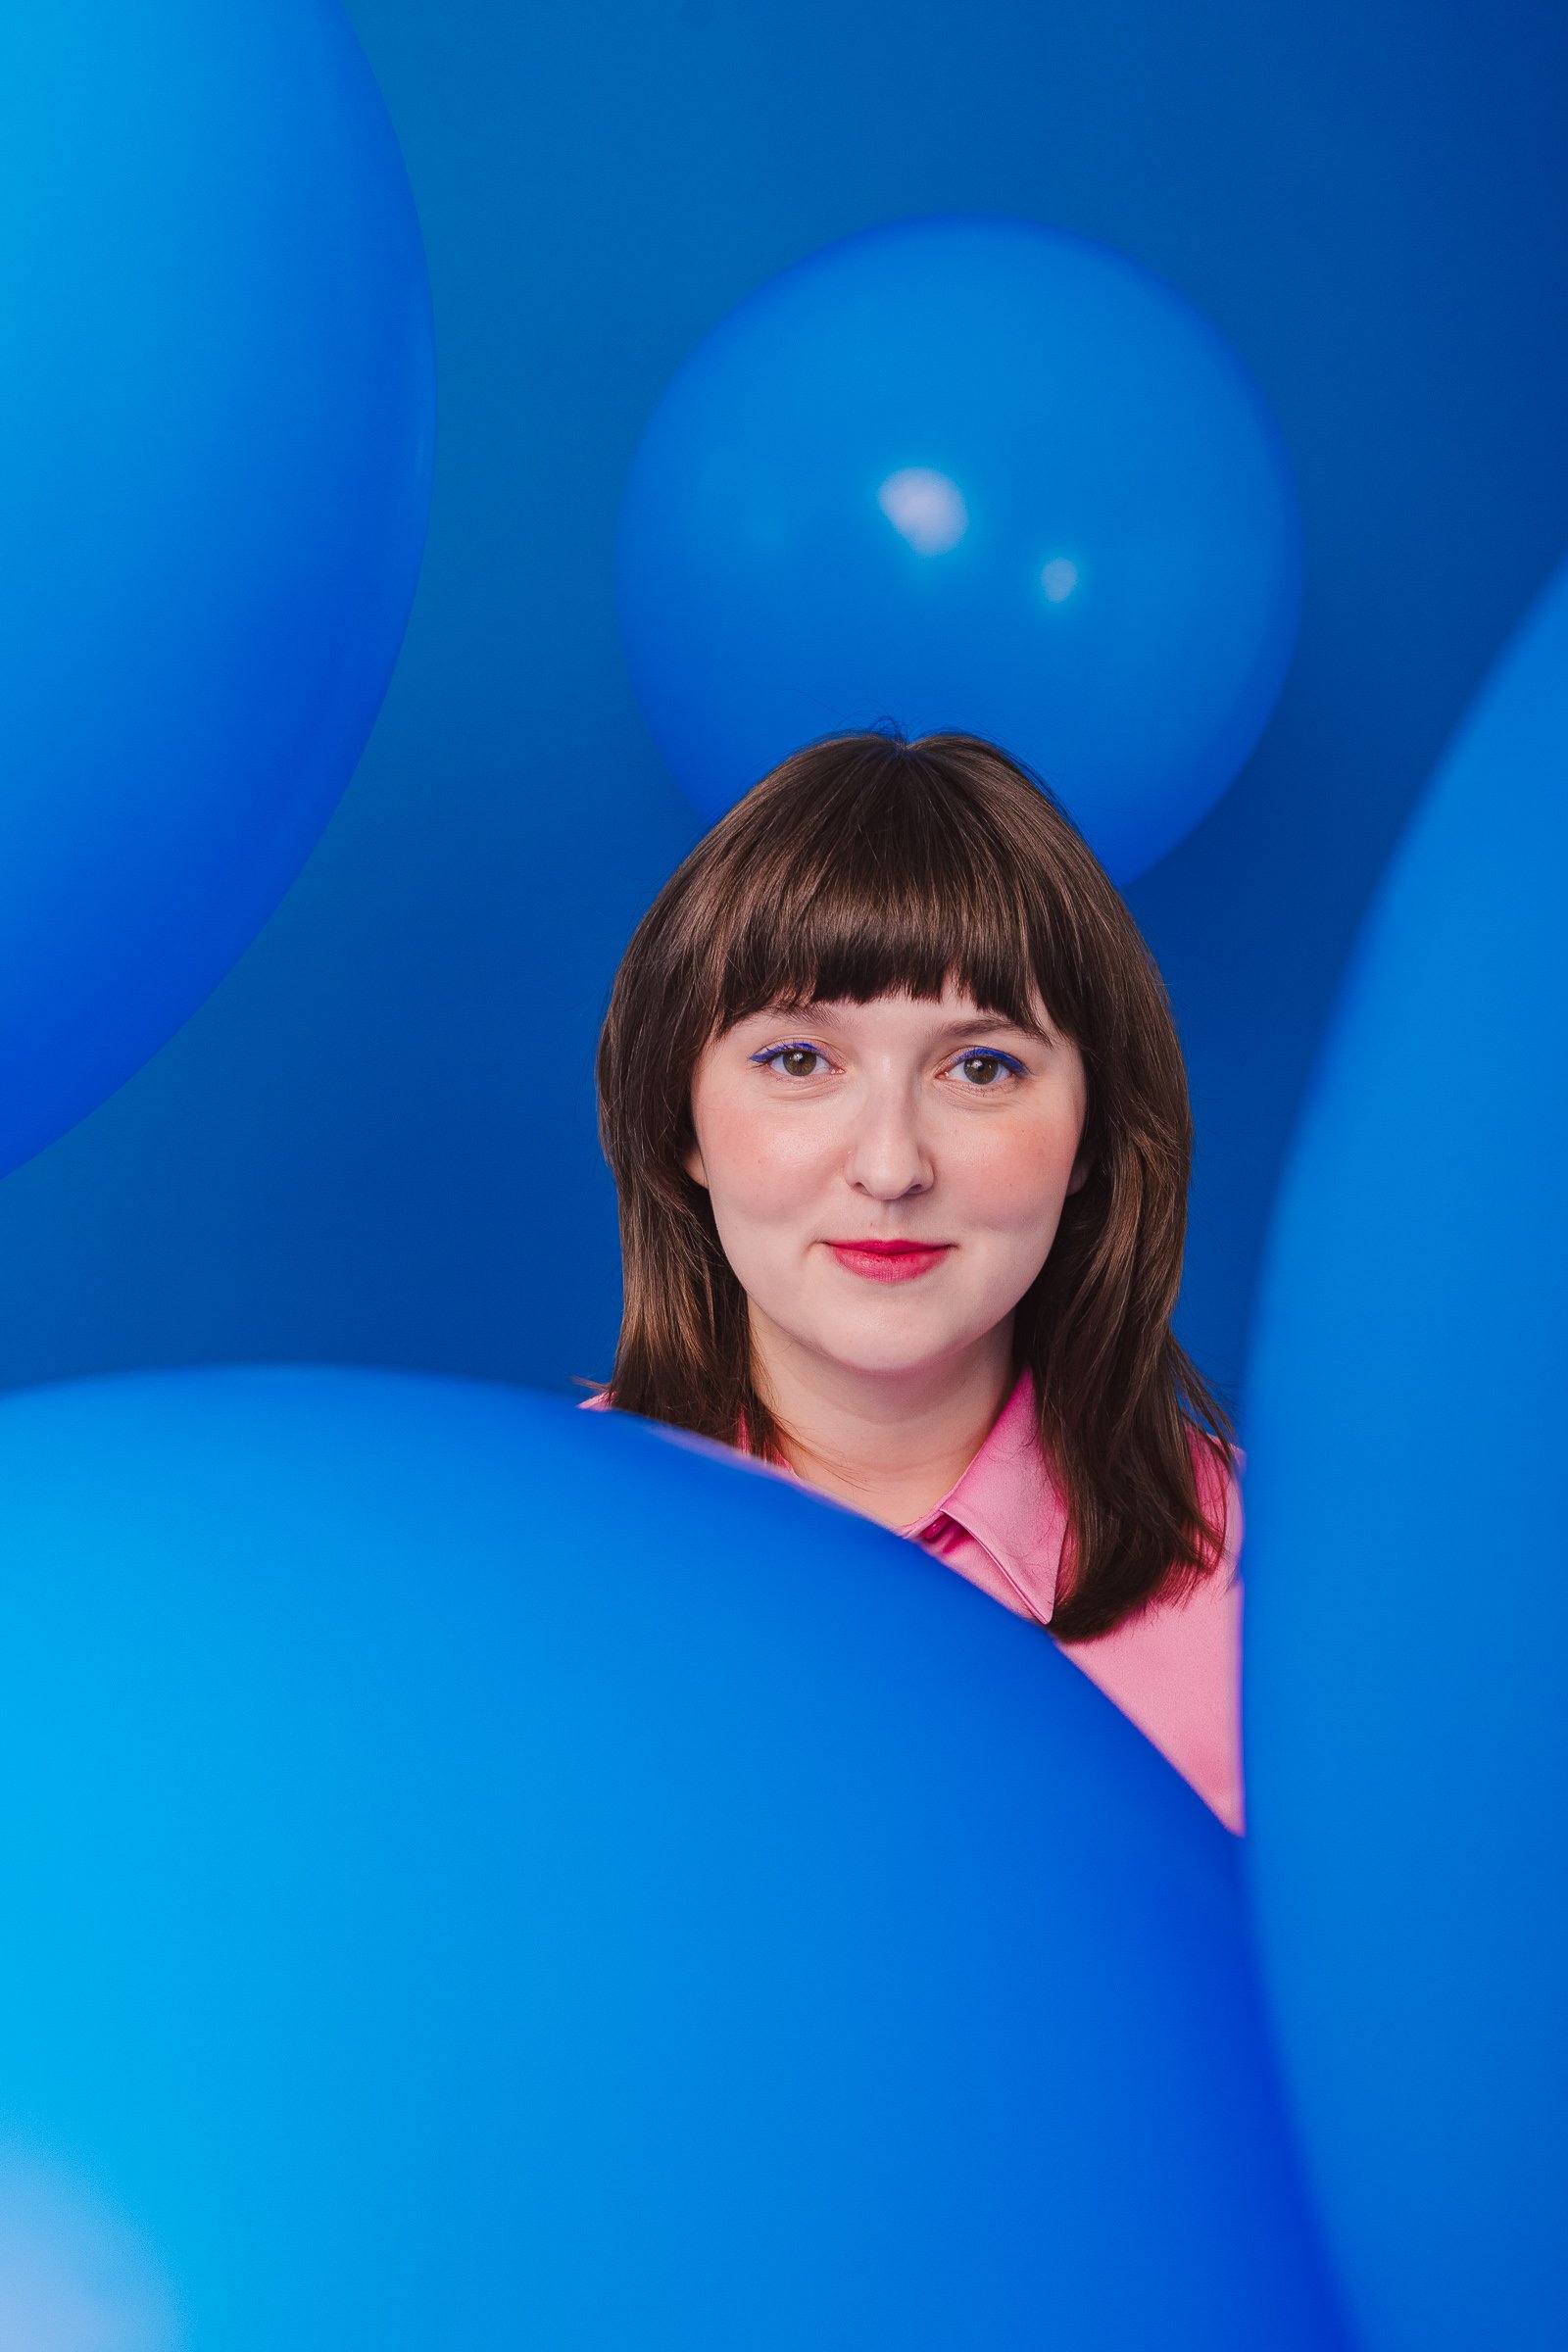
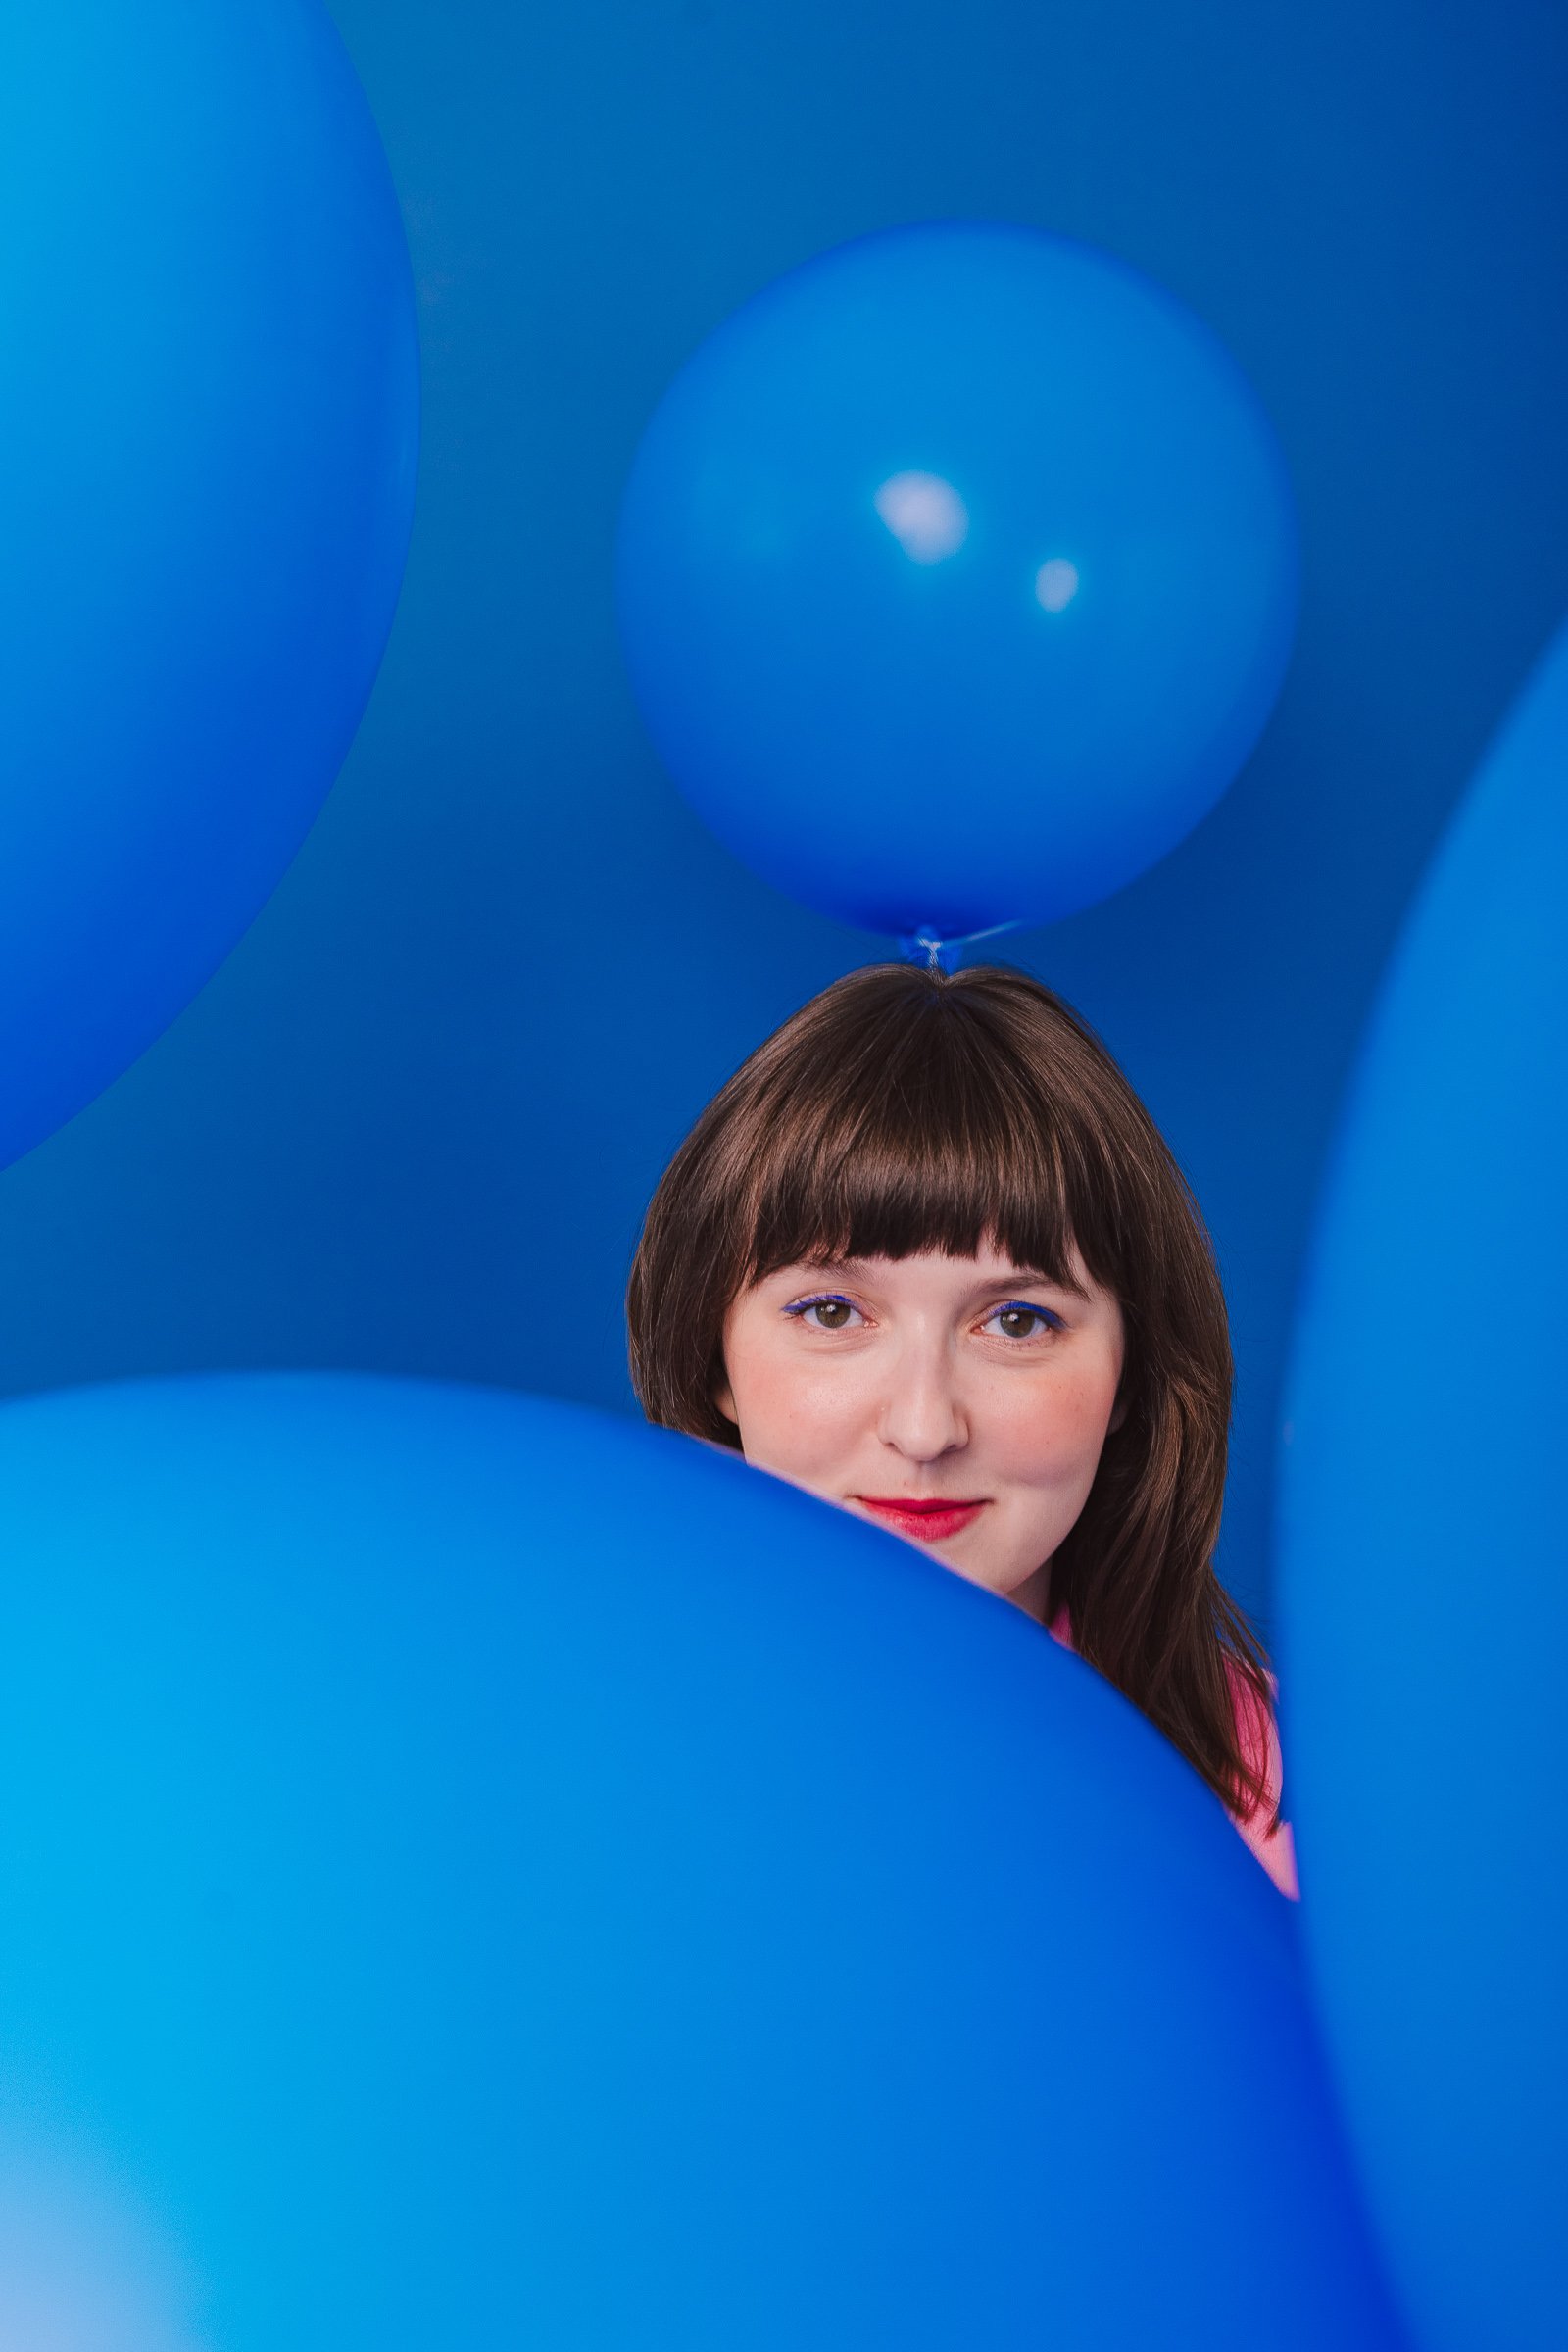
Here you can see a few frames out of my Stop Motion animation, which consists 13 frames overall.


The edit
So you’ve done your photoshoot - now it’s time to animate your Stop Motion. You can do this with lots of different platforms:
Canva
Final Cut
Premiere Pro
Photoshop
Even CapCut can turn your imagery into a moving video sequence, but cannot export it as a .gif.
Basically, you load all of your photos on your program’s timeline and speed them up to the timing you prefer your Stop Motion animation to be. Then you can export your video as a .mov, .mp4 or even as a .gif for websites. It’s literally that easy.
I prefer to create my Stop Motions in Final Cut. It’s what I edit most of my video content with and it’s quite easy to use. After importing all of my photos I create a merged clip so it’s easier to edit and speed up all of the images at once.
If you need a tutorial for a specific platform, please let me know in the comments below or shoot me an email :)
Thank you so much for reading!
x
Anna